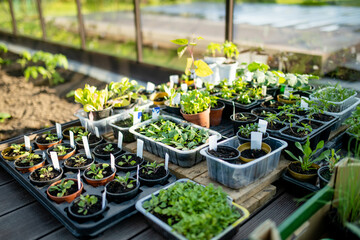
Starting seeds indoors when the air is still crisp and to cool to grow can fast-track your growing season, allowing you to have a longer harvest. There’s something downright magical about starting your seeds. Watching those tiny green shoots pop through the soil is the best kind of hope — a little promise that fresh tomatoes, crunchy cucumbers, and fragrant basil are on their way. But if you’re new to gardening (or you’ve killed more seedlings than you’d like to admit — no judgment, I’ve been there), starting seeds indoors can feel intimidating. Don’t worry — I’m here to walk you through it, step by step.
This post may contain affiliate links, please read our privacy policy for details.
1. Why Start Seeds Indoors?
Some crops (like peas, carrots, and radishes) do just fine when you plant the seeds directly in the garden. But others — especially warm-weather crops like tomatoes, peppers, and eggplants — need a head start indoors if you want a decent harvest. Starting your own seeds gives you more variety to choose from, saves money, and helps you time your plantings perfectly.
Personal tip: I start tomatoes and peppers every February, so they’re strong and ready to go when the frost danger passes. It’s my little promise to spring.
2. What You’ll Need to Start Seeds
You don’t need a fancy greenhouse or expensive gear — just these basics:
* Seed trays or small pots (I’ve even used yogurt cups with holes poked in the bottom)
* Seed-starting mix (lighter than garden soil, designed for delicate roots)
* Seeds (heirloom, organic, whatever makes you happy)
* Grow lights (a sunny window rarely cuts it)
* Spray bottle or gentle watering can
* Heat mat (optional but helpful for heat-loving crops like tomatoes and peppers)
💡 Personal tip: Avoid regular garden soil — it’s too heavy and can carry diseases that wipe out your seedlings.
3. Choose the Right Seeds
Not every crop needs to be started indoors. Here are some great choices for seed-starting beginners:
* Tomatoes – A must-have for sauces, salads, and snacking
* Peppers – From sweet bells to spicy jalapeños
* Basil – Fresh pesto starts here
* Broccoli – Loves a cool start indoors
* Lettuce – Quick and easy, even indoors
Save direct seeds like beans, corn, and root veggies (carrots, beets) for outdoor planting.
4. Set Up Your Seed-Starting Space
You don’t need a greenhouse — just a bright, warm spot. Most seeds germinate best at 65-75°F with plenty of light. A table near an outlet works fine for setting up grow lights.
* Light: Use adjustable LED grow lights — they’re energy-efficient and provide the full spectrum plants need. Place the light just a few inches above the seedlings and raise it as they grow.
* Heat: A simple seedling heat mat can speed up germination, especially for peppers and tomatoes.
* Airflow: A small fan on low helps prevent damping off (a fungal disease that kills seedlings) by improving air circulation.
💡 Personal tip: I start my seeds on a metal shelf with grow lights clipped to each level — works like a charm!
5. Planting Your Seeds
* Moisten your seed-starting mix before planting — it should feel like a wrung-out sponge.
* Fill your containers and gently press the soil down.
* Plant seeds according to the packet (usually 2-3 times deeper than the seed’s size).
* Label everything! (You think you’ll remember, but you won’t.)
💡 Personal tip: I plant two seeds per cell, and if both sprout, I snip the weaker one with scissors rather than disturbing the roots.
6. Watering & Light
* Keep the soil consistently moist, but not waterlogged. A spray bottle is perfect for gentle watering.
* Light: As soon as seedlings emerge, they need 12-16 hours of bright light daily. Without it, they’ll get leggy and weak.
* Bottom watering: Place trays in a shallow pan of water and let the soil wick moisture up — this encourages strong roots.
💡 Personal tip: Check daily! Seedlings dry out fast under lights, and they’re surprisingly delicate in those early days.
7. Transplanting Outdoors
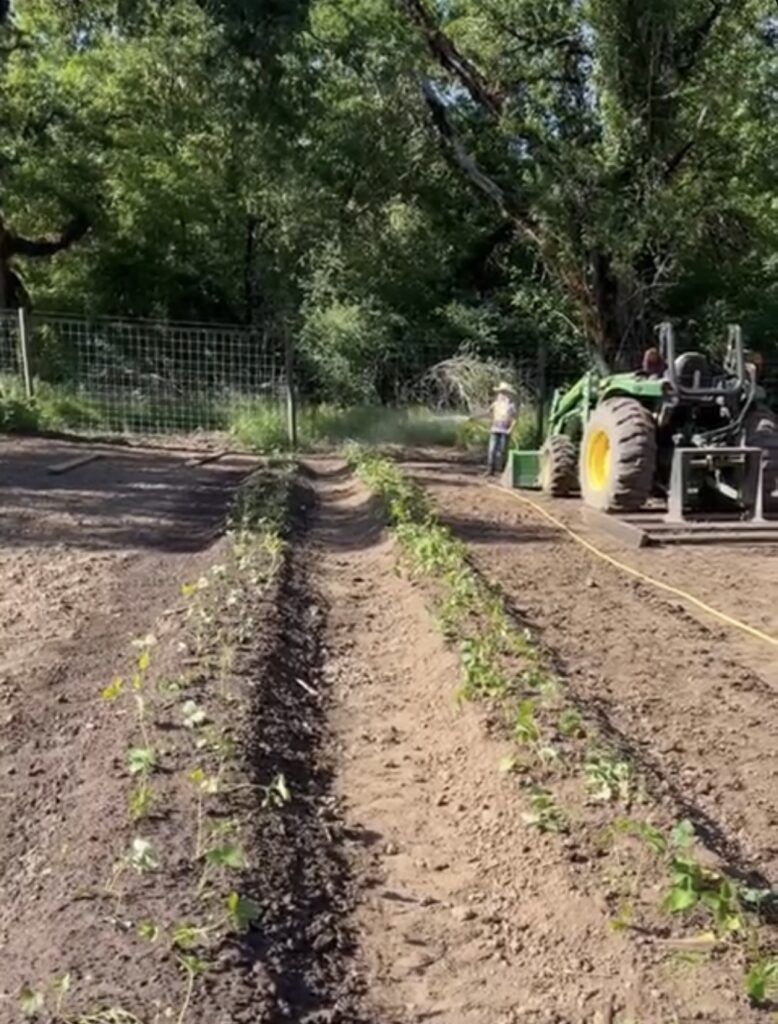
Once your seedlings have 2-3 sets of true leaves and the outdoor temperatures are right, it’s time to harden them off. This step gradually exposes them to outdoor conditions so they don’t go into shock. I did this one year and ended up with lots of seedlings that never was able to recover.
* Start with 1 hour outside in shade, then gradually increase time and sun exposure over 7-10 days.
* Transplant into the garden when the danger of frost has passed.
Personal tip: I bring seedlings out for a little “field trip” each day while I do my morning chores. It’s like plant preschool.
Starting seeds indoors is one of the most rewarding parts of gardening — watching those little green shoots push through the soil never gets old. With the right setup, a bit of patience, and a sprinkle of trial and error, you’ll have strong, healthy plants ready to feed your family all season long. And trust me — it’s addictive. Once you start, you’ll be scouring seed catalogs every winter, dreaming of next year’s garden.
Happy sprouting!
Linnea
Did you start seeds indoors?
We’d love to see! Tag @homesteadwildflower on Instagram! #homesteadwildflower

