
There’s something so magical about starting something from absolutely nothing kind of like watching your garden bloom in the spring after a long winter. That’s what it feels like to create a sourdough starter from scratch. No packets of yeast. No fancy equipment. Just flour, water, and a little patience.
I still remember the first time I tried it. I had babies underfoot, dishes in the sink, and chickens squawking in the yard but I was determined to bake my own bread like my grandma did. I didn’t have yeast on hand, but I’d heard whispers about sourdough starter this living thing you feed like a pet and bake with like a pro.
And guess what? It worked. Here’s exactly how I did it.
Table of Contents
What You’ll Need
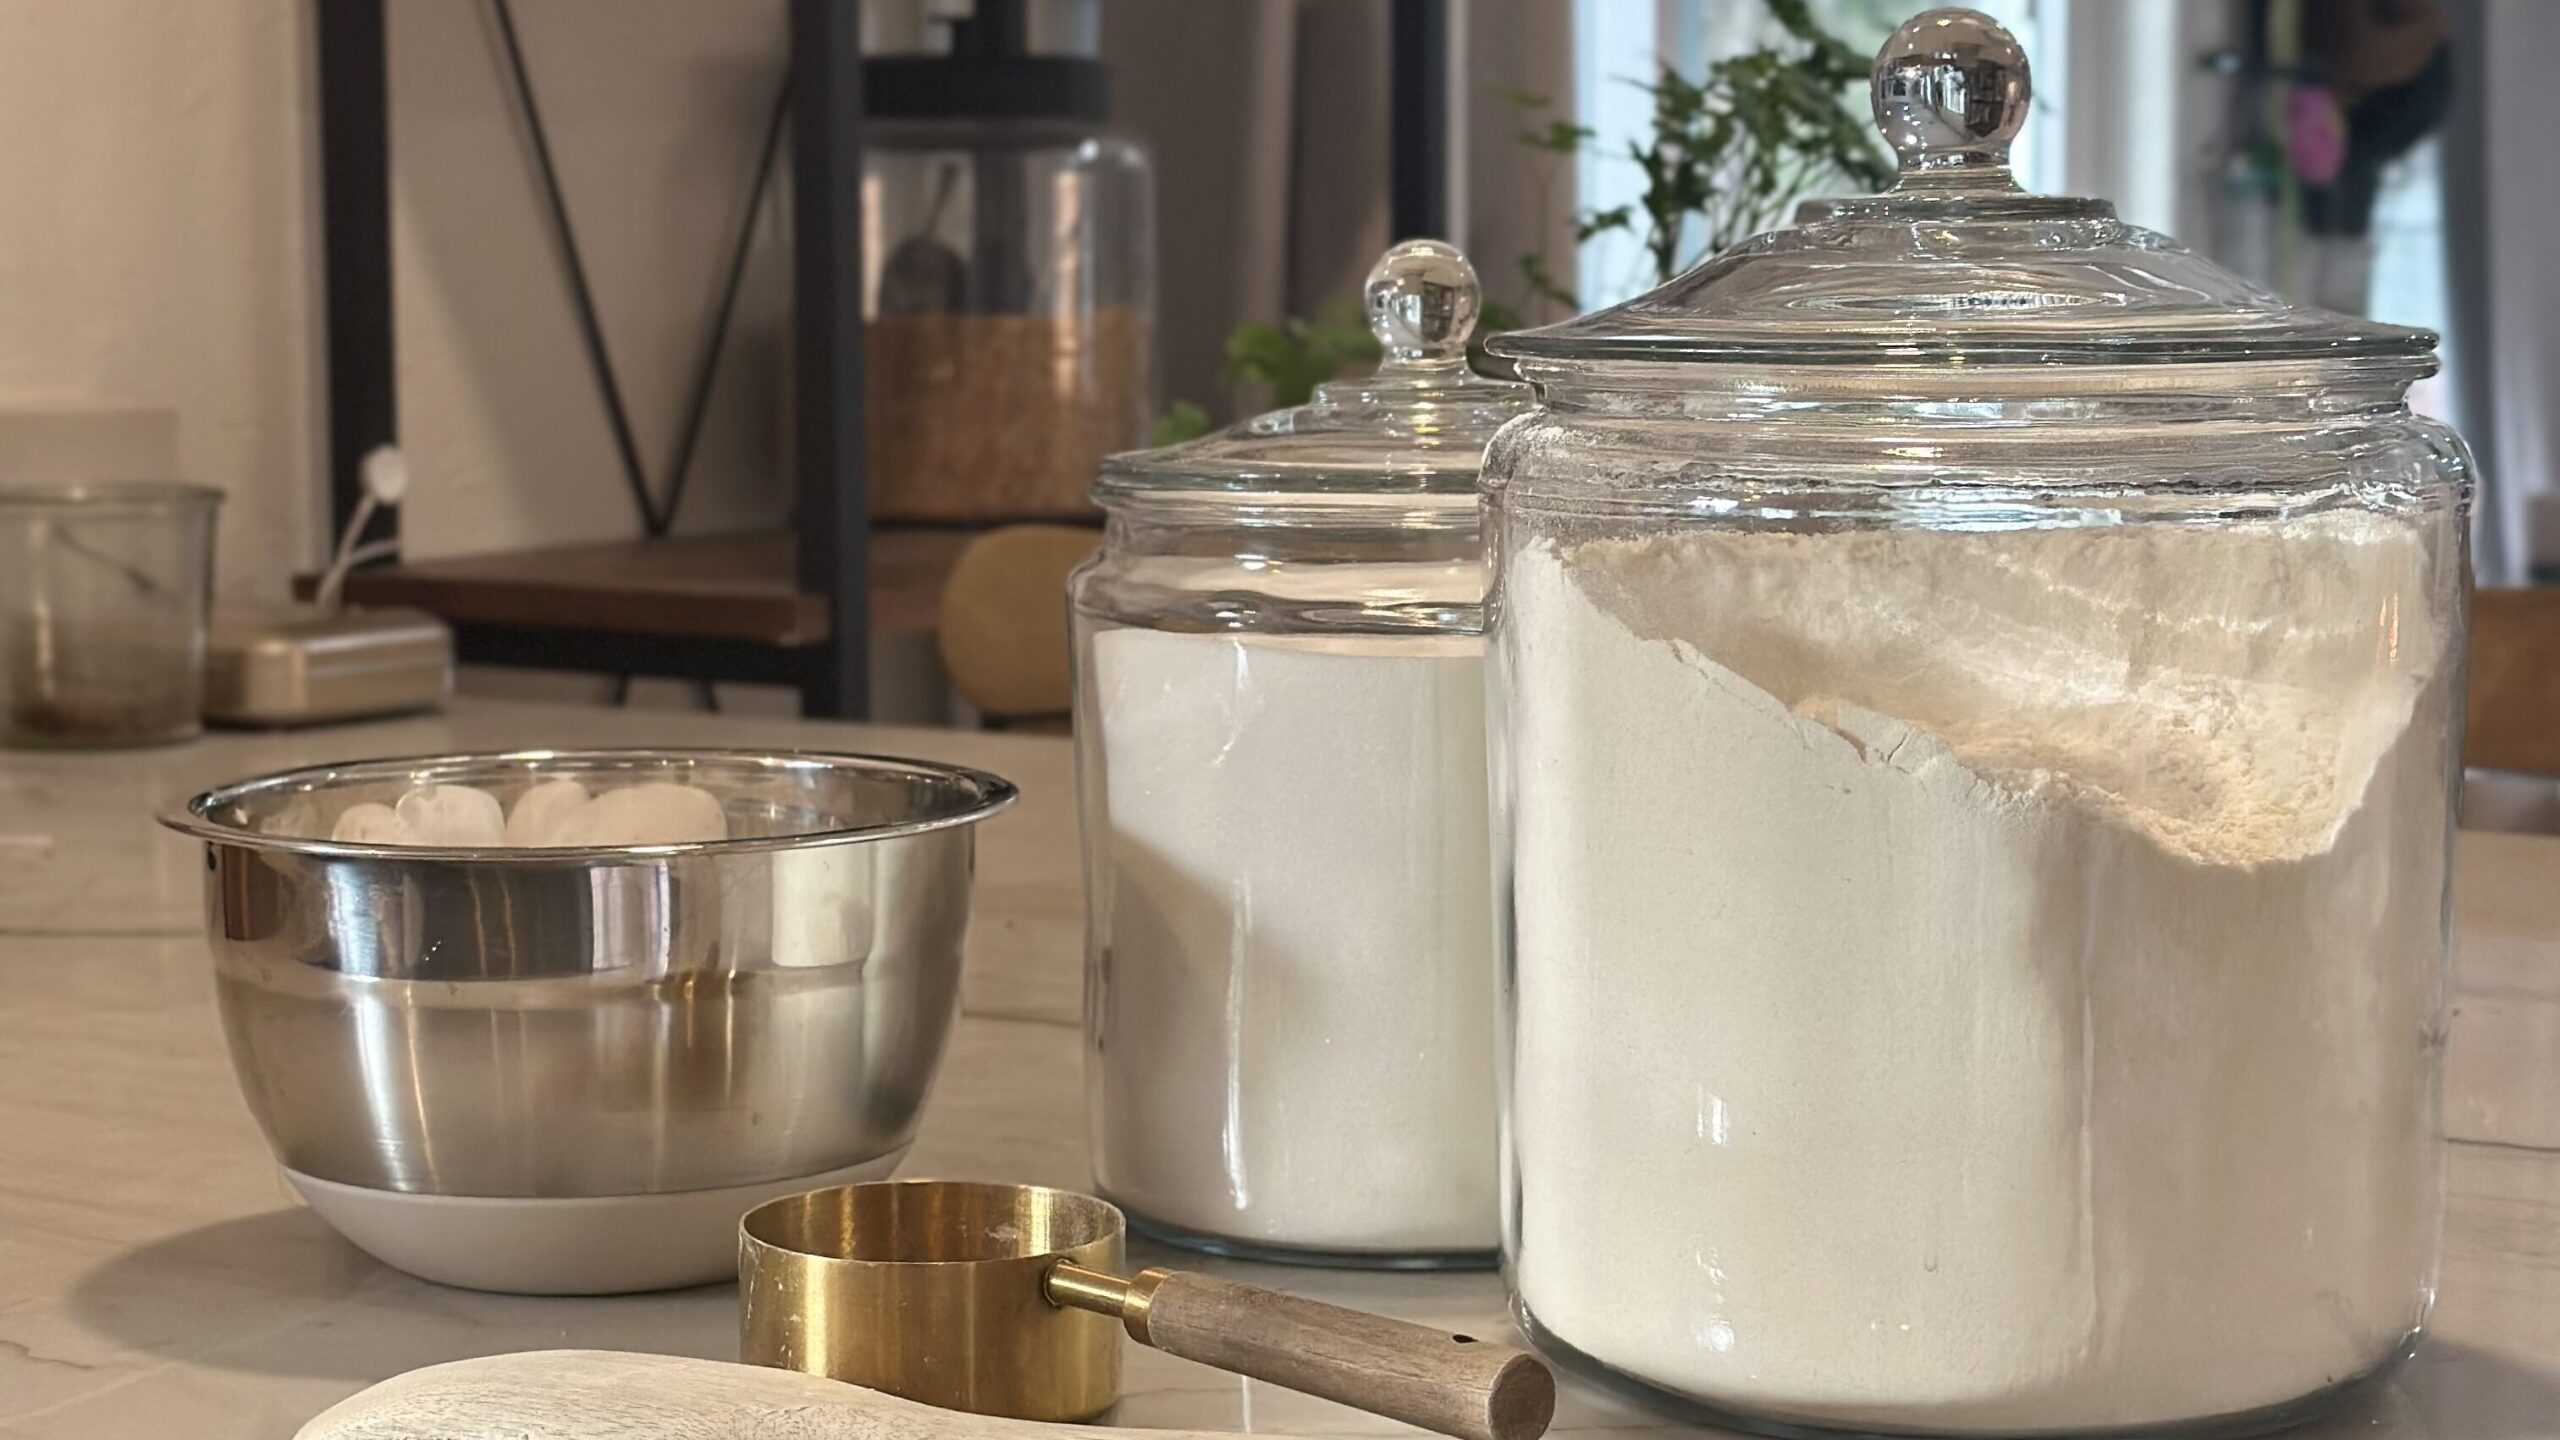
- A clean glass jar (like a mason jar)
- Flour (unbleached all-purpose, whole wheat, or rye)
- Filtered or dechlorinated water
- A rubber band or jar lid (for loose covering)
That’s it. No yeast. No drama.
Day-by-Day Sourdough Starter Guide
Day 1:
Mix in a jar:
- ½ cup flour
- ¼ cup water
Stir, scrape down sides, and cover loosely. Set it somewhere warm.
Day 2:
You may see a few bubbles, or nothing yet. Discard half, then feed:
- ½ cup flour
- ¼ cup water
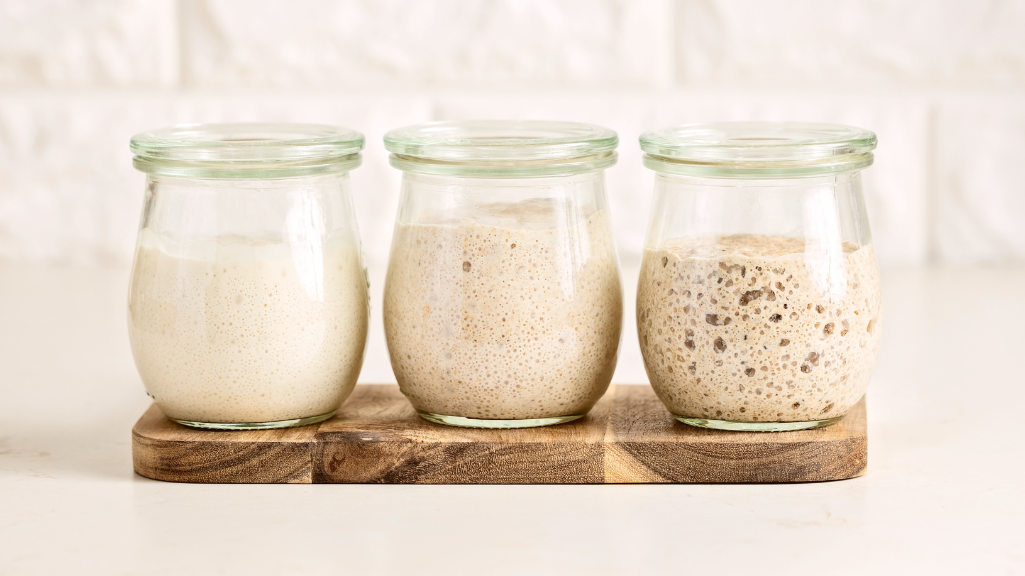
Days 3–7:
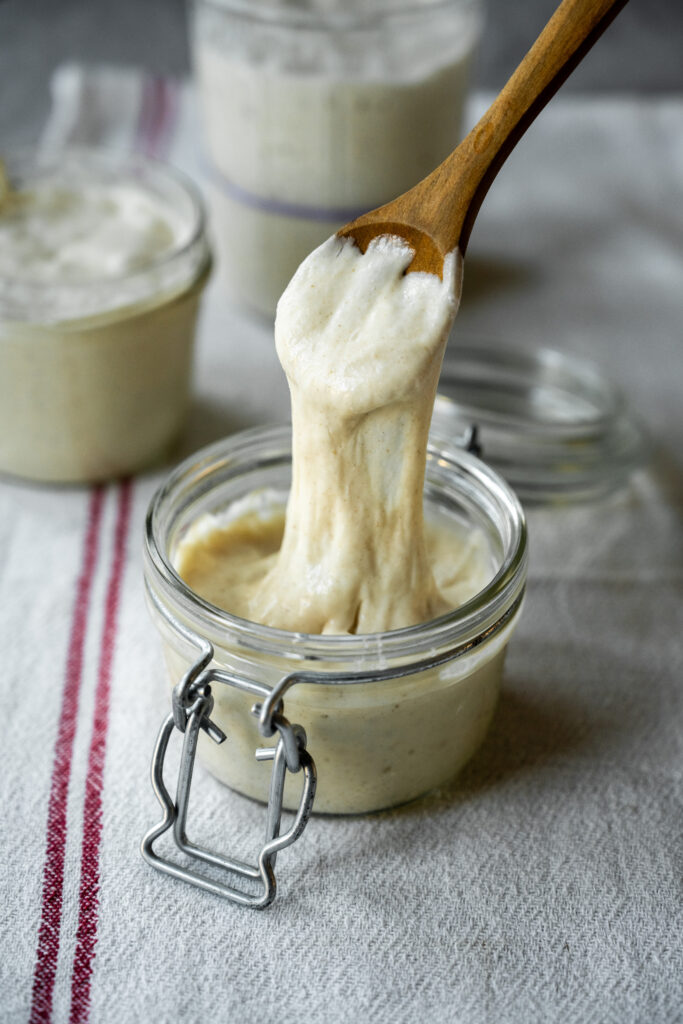
Repeat the discard + feed daily. By day 6 or 7, it should double after feeding and smell pleasantly tangy, like yogurt or sour apples. That’s your sign it’s ready to bake!
Tips from My Homestead Kitchen
- Use warm water to keep the yeast happy
- Swap in whole wheat or rye flour for a boost
- Mark the jar with a rubber band to track rise
- Be consistent think “morning routine” vibes
- If it smells really off, it’s okay to toss and restart. It happens.
Why Make Your Own Starter?
Creating your own starter is empowering. It becomes part of your homestead story, just like your favorite garden seeds or that go-to sourdough discard pancake recipe. And once you’ve got it going, it’s yours for life. You’ll never need to buy yeast again. 🙌
Final Thought
Making a sourdough starter is like any good homestead habit—start simple, stay consistent, and don’t overthink it. In just a few days, you’ll have something alive in your kitchen, bubbling away, waiting to nourish your family.
Trust me—you’ve got this, mama.
Ready to start your sourdough journey? Save this post and tag me @therosyfarmhouse when your starter is bubbly and happy!
Let’s bake together.
Linnea
You Might Also Love!
What to Feed Your Sourdough Starter and When to Feed It
👉 Wondering what comes next once your starter is alive? This guide walks you through feeding schedules, flour types, and what to expect week to week..
Why Your Sourdough Starter Isn’t Bubbling — and How to Fix It
👉 Troubleshooting help if your starter feels lazy or lifeless. Don’t toss it until you read this!
Easy Sourdough Bread Recipe for Beginners (No Kneading!)
👉 Once your starter is ready, this is the first loaf you should bake. Minimal effort,
What’s the Difference Between a Starter and Discard?
👉 Learn what “discard” actually means and why you shouldn’t waste it—especially if you love easy, from-scratch recipes!
#sourdoughstarter #fromscratch #homesteadmama #pantrylife #sourdough