
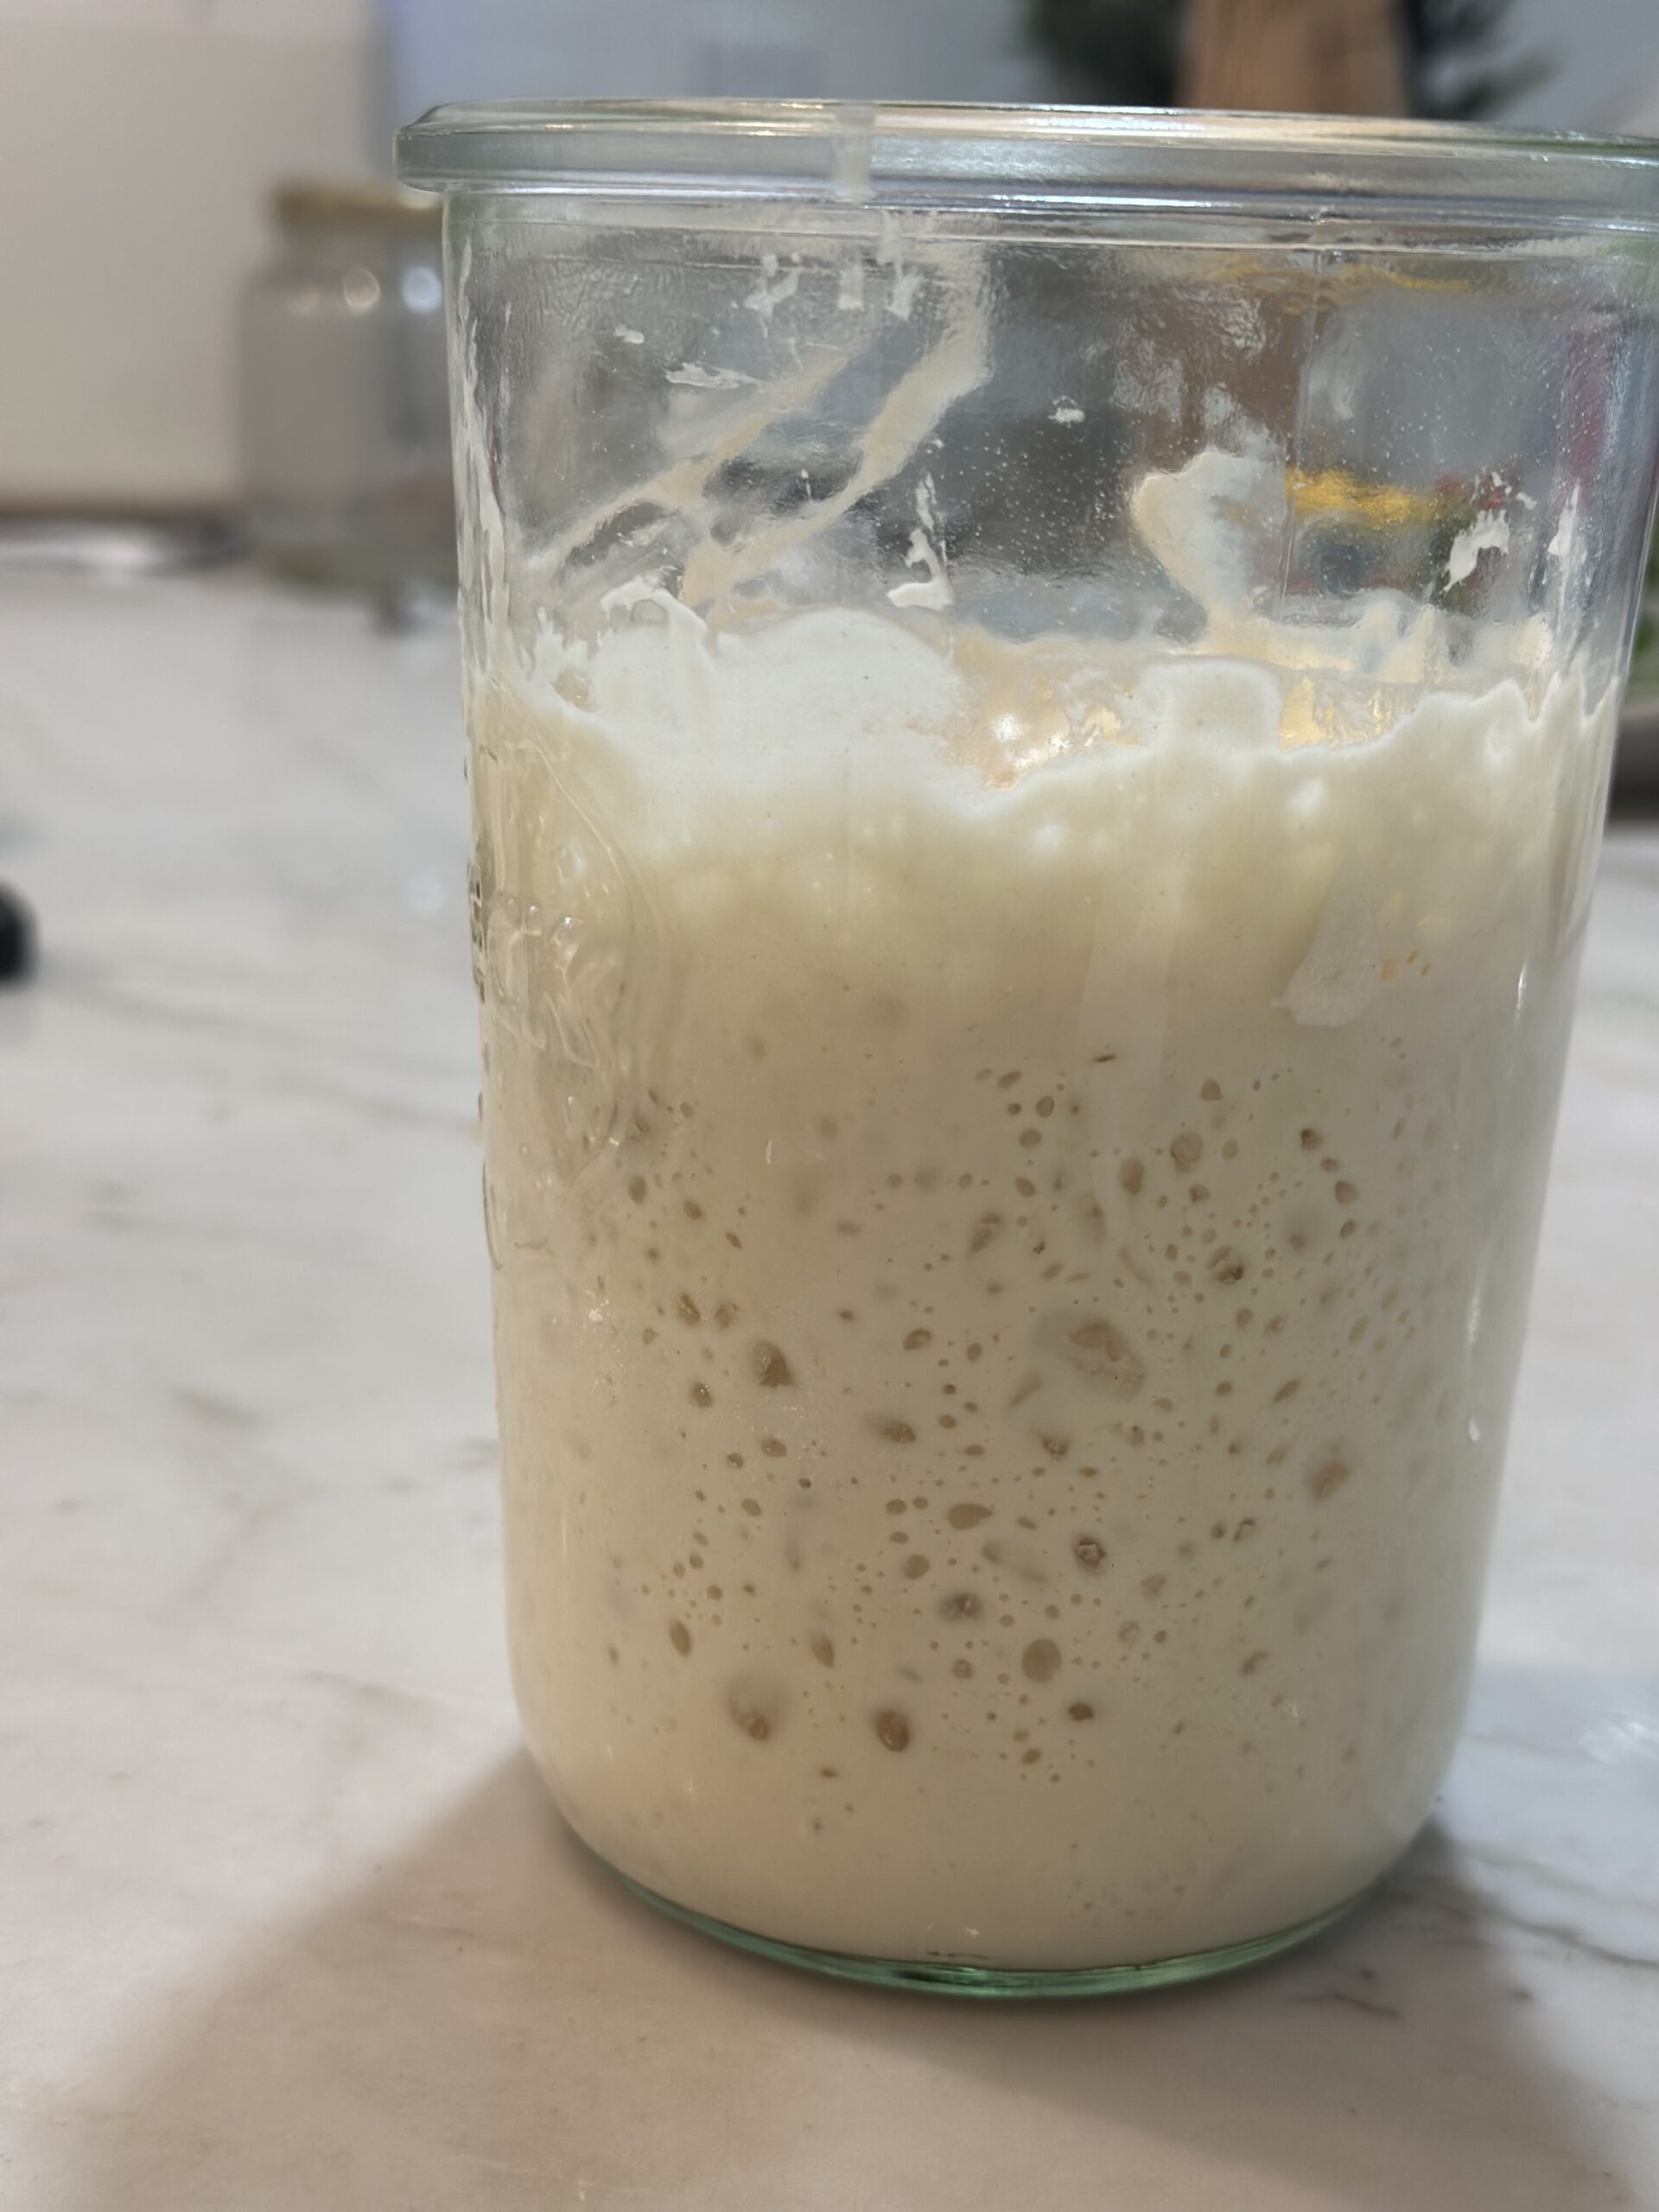
If you’ve been watching that bubbly starter rise and fall every day, wondering “Okay… now what?” — this post is for you.
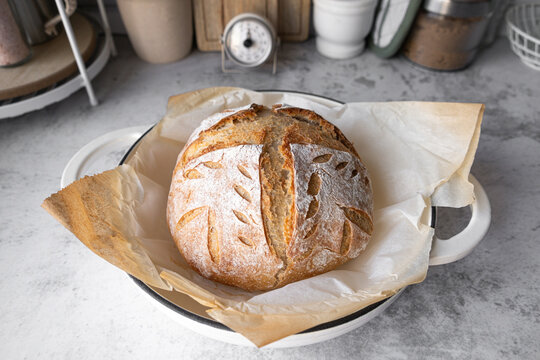
This was the very first loaf I ever baked. No fancy Dutch oven. No kneading. No panic. Just real ingredients, a little patience, and the kind of cozy farmhouse bread that makes your whole kitchen smell like home.
It’s beginner-friendly, forgiving, and honestly… it’ll blow your mind that you made this from scratch with your own two hands (and zero store-bought yeast!).
Table of Contents
Why No-Knead Bread Works
Traditional sourdough bread involves lots of folding and stretching (which is great, but overwhelming at first). This version lets time do the hard work—gluten develops slowly overnight while you sleep, so there’s zero kneading required.
Plus… fewer dishes? Yes, please. 🙌
Tools You’ll Need
- Large mixing bowl
- Dough scraper or spatula
- Kitchen towel
- Cast iron skillet, baking stone, or baking sheet
- Parchment paper
- Sharp knife or lame (for scoring)
Ingredients
- 1 cup (240g) active sourdough starter
- 1 ½ cups (360g) warm water
- 4 cups (480g) all-purpose or bread flour
- 1 ½ tsp salt
That’s it. Simple, pantry-friendly, farmhouse staples.
Step-by-Step Recipe
Step 1: Mix
In a large bowl, stir together:
- 1 cup active starter
- 1½ cups warm water
- 4 cups flour
- 1½ tsp salt
Mix until no dry bits remain. It’ll be shaggy and sticky—perfect!
Step 2: Rest
Cover with a towel and let it rest at room temp for 30 minutes.
Step 3: Stretch & Fold (optional)
If you want to help it along, do 1 or 2 sets of stretch-and-folds every 30 mins (just pull each side and fold it over like a letter). But honestly? You can skip this and still get a beautiful loaf.
Step 4: Bulk Fermentation (aka long nap)
Let it rise on the counter overnight—8 to 12 hours—until doubled and bubbly. (Cooler temps might take longer.)
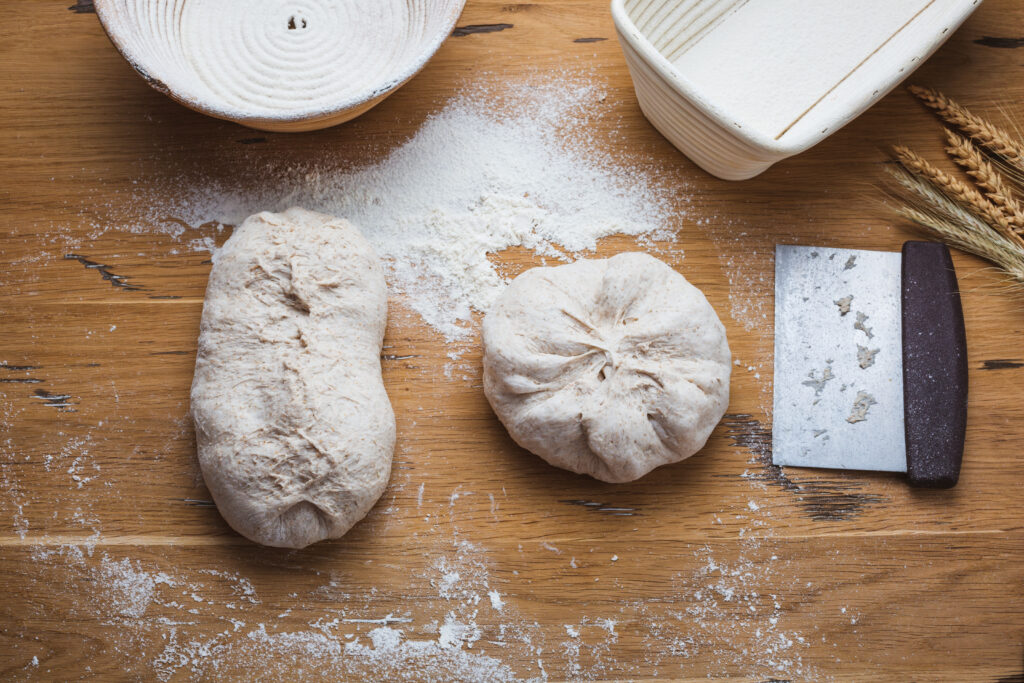
Step 5: Shape
In the morning, gently turn the dough onto a floured surface. Shape it into a round ball. Let it rest for 15–30 minutes.
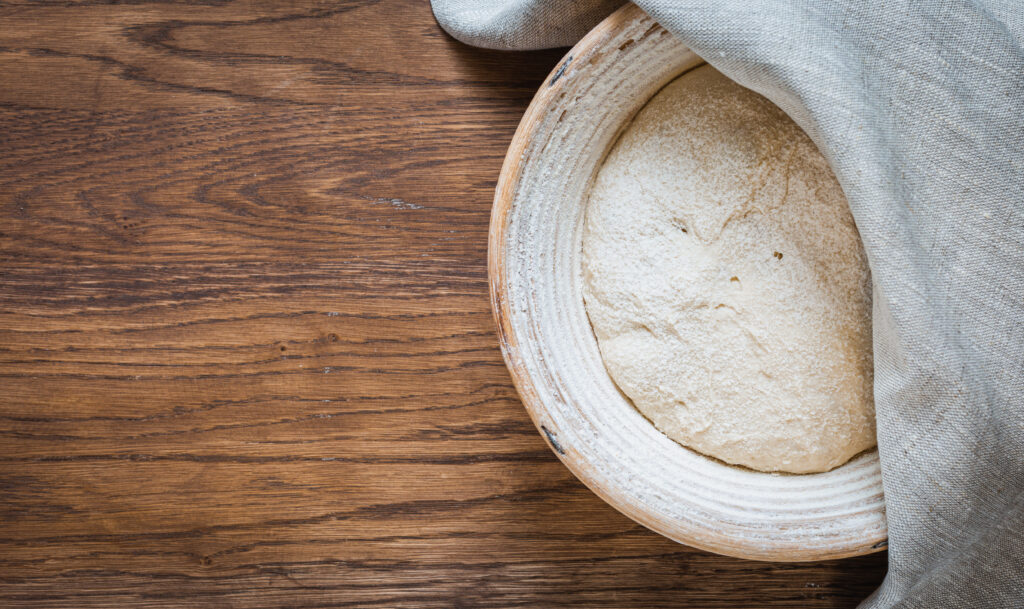
Step 6: Final Rise
Place the dough seam-side up in a floured towel or bowl. Let it rise again for 1–2 hours, until puffy but not flat.
Step 7: Bake
Preheat your oven to 450°F (232°C). Place your cast iron skillet (or baking sheet) inside while it heats.
Carefully transfer the dough onto parchment paper. Score the top with a sharp knife.
Bake for:
- 20 mins covered (if using a pot/skillet with lid or foil tent)
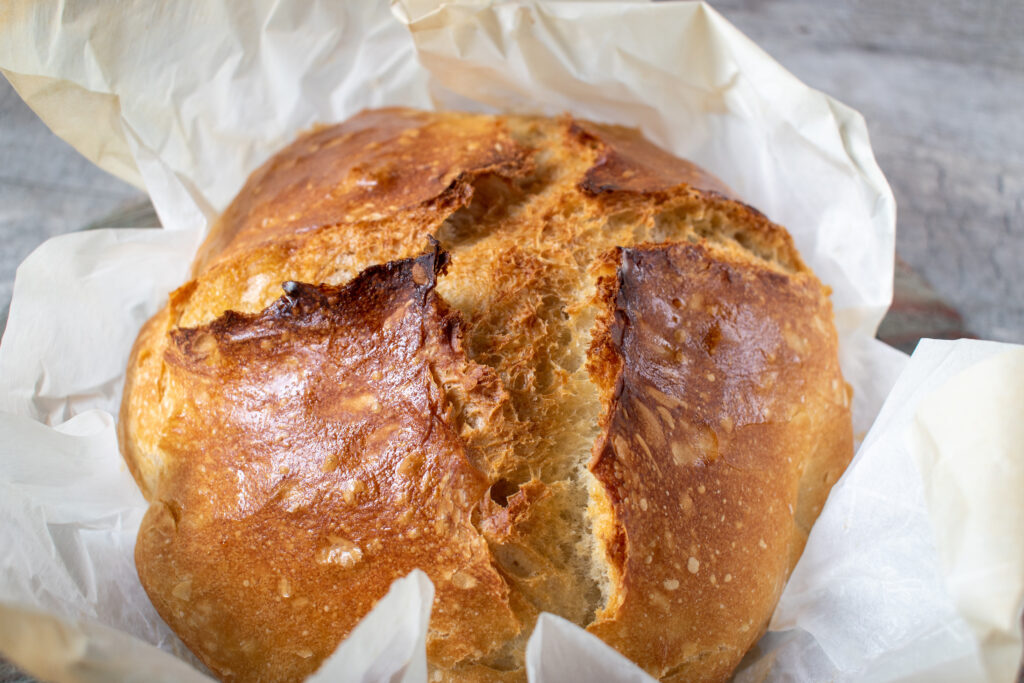
- Then 20–25 mins uncovered, until golden and crusty
Cool on a rack for at least an hour (I know, I know—it’s hard 😅).
Baking Without a Dutch Oven
No Dutch oven? No problem! Try:
- Cast iron skillet with a metal bowl or foil over top
- Baking stone and an oven-safe pan of water on the lower rack
- Plain ol’ baking sheet with foil tented loosely for the first 20 mins
It still turns out amazing. Promise.
🧡 Tips from My Homestead Kitchen
- Use active starter (it should float in water = ready)
- Flour your hands—this dough is sticky
- Don’t rush the cool-down—sourdough finishes baking inside after it comes out
- Add mix-ins like rosemary, cheddar, or garlic once you get confident!
What to Make with Leftover Bread
You will want to eat it all warm and slathered in butter… but if you’ve got extra:
- Sourdough French toast
- Croutons
- Bread pudding
- Grilled cheese
- Homemade breadcrumbs for casseroles
It’s the gift that keeps on giving.
Take care, Linnea
Related Sourdough Posts
How to Start a Sourdough Starter from Scratch (No Yeast Needed)
What to Feed Your Sourdough Starter and When to Feed It
Why Your Sourdough Starter Isn’t Bubbling — and How to Fix It
How to Store Sourdough Bread to Keep It Fresh All Week
Did you make this recipe?
We’d love to see! Tag @homesteadwildflower on Instagram! #homesteadwildflower
I’d love to celebrate your very first slice with you. 🥹🍞💛
#sourdoughforbeginners #fromscratchlife #homesteadbaking