
If you’ve ever stared at a jar of homemade jam and thought, “That’s beautiful, but I could never do that”—this post is for you.
Water bath canning is the perfect entry point into preserving your own food. It’s safe, simple, and requires no fancy equipment. And no, you don’t need to be a grandma or have a giant farmhouse kitchen to start. I started because it helps you stock up the pantry and stops food from going bad. Also my kids love the strawberry jam. You just need a pot, some jars, and a little know-how.
Let’s break it all down so you can preserve your next batch of tomatoes, pickles, or jam with confidence.
Table of Contents
What Is Water Bath Canning?
Water bath canning is a method of preserving food by sealing it in jars and boiling them to kill bacteria, yeasts, and molds. It creates a vacuum seal that keeps your food shelf-stable for up to a year or more.
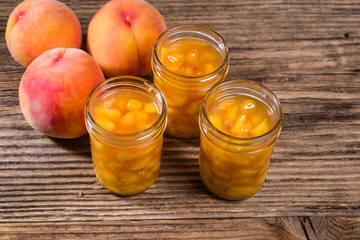
It’s best used for high-acid foods, like fruits, jams, jellies, pickles, and tomatoes (with added lemon juice).
What You Can (and Can’t) Can This Way
✅ Safe to Water Bath Can:
- Jams & jellies
- Applesauce & fruit butters
- Tomatoes (with bottled lemon juice or citric acid)
- Pickles (cucumber, beet, onion, etc.)
- Fruit syrups or pie fillings
🚫 Do NOT Water Bath Can:
- Meat or poultry
- Vegetables without vinegar (like carrots or green beans)
- Soups, broths, or dairy
Low-acid foods need pressure canning to be safely preserved.

The Basic Equipment You’ll Need
Here’s what you need to get started:
- A large pot with a lid (deep enough to cover jars by 1-2 inches)
- A rack or a folded towel to keep jars off the bottom
- Mason jars with new lids and clean rings
- A jar lifter (or tongs with rubber bands in a pinch)
- A funnel and ladle for clean filling
- Clean towels for setting jars
Optional but helpful:
- Magnetic lid lifter
- Bubble remover tool (or a butter knife!)
Step-by-Step Instructions
1. Prep your recipe and sterilize your jars.
Wash jars in hot, soapy water and keep them warm (in hot water or dishwasher).
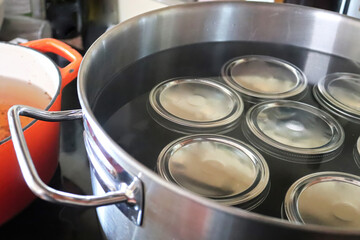
2. Heat your canner.
Fill the pot halfway with water and bring it to a simmer while you prep your food.
3. Fill the jars.
Use your funnel to ladle in hot food, leaving 1/4″ to 1/2″ headspace depending on the recipe. Remove air bubbles and wipe rims clean.
4. Add lids and rings.
Center the lid and screw the ring on fingertip-tight (not cranked down).
5. Process the jars.
Lower jars into the canner. Water should cover them by 1–2 inches. Bring to a rolling boil, then start the timer based on your recipe.
6. Let them rest.
After processing, turn off the heat and let jars sit for 5 minutes before removing.
7. Cool and check seals.
Set jars on a towel. After 12–24 hours, check the lids. If they don’t flex up and down, they’re sealed!
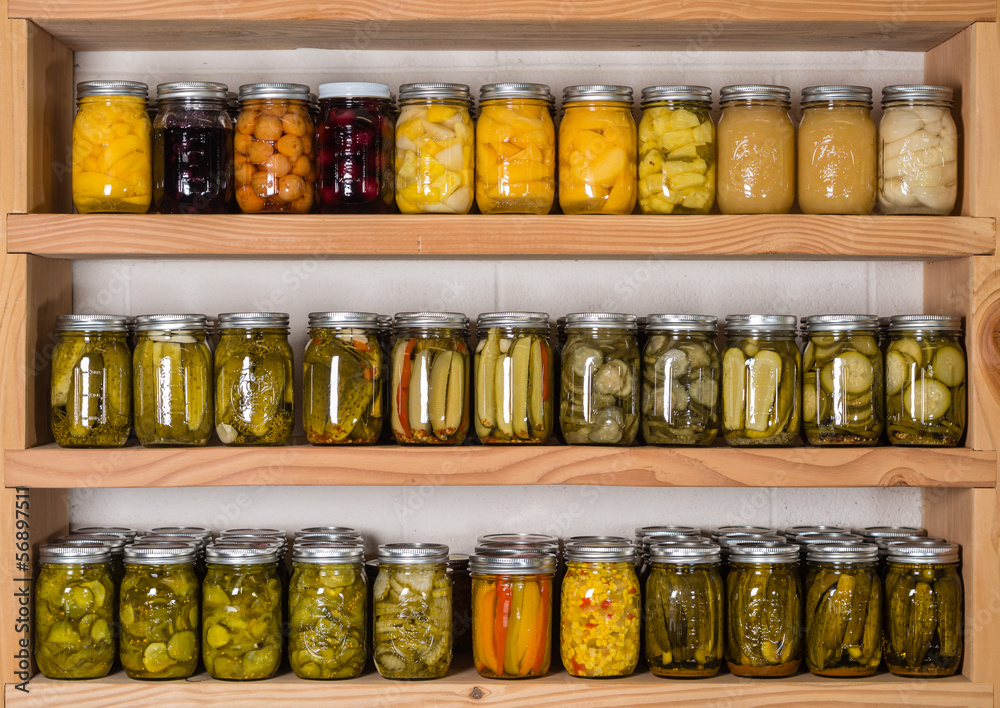
8. Label and store.
Store in a cool, dark place. Use within a year for best quality.
Common Mistakes to Avoid
- Using old lids – Always use new ones for a reliable seal.
- Forgetting to adjust for altitude – Higher elevations need longer processing times.
- Underfilling or overfilling jars – Follow recipe instructions for headspace.
- Not checking seals – Unsealed jars must be refrigerated or reprocessed.
FAQ’s
Canning doesn’t have to be scary or complicated. You don’t need a bunch of fancy equipment or a day off work—just some jars, a good recipe, and the confidence to try.
Start with jam. We go through jam pretty fast and extra on hand does not go to waste. Or tomatoes. Or pickles. You’ll open that first jar in winter and feel like a homesteading rockstar.
👉 Want my favorite beginner canning recipes + printable checklists? Grab the free Self-Sufficient Garden Planner and join my newsletter!
You’ve got this. Let’s fill those shelves—one jar at a time.